How to Paint a Watercolor Ice Cream Cone with Step by Step Instructions
Hey, sweet friend!
If you love ice cream just as much as me, then you’ll love this watercolor tutorial. This is one of the chapters from my book, Watercolor Snacks, and it’s so fun and easy!
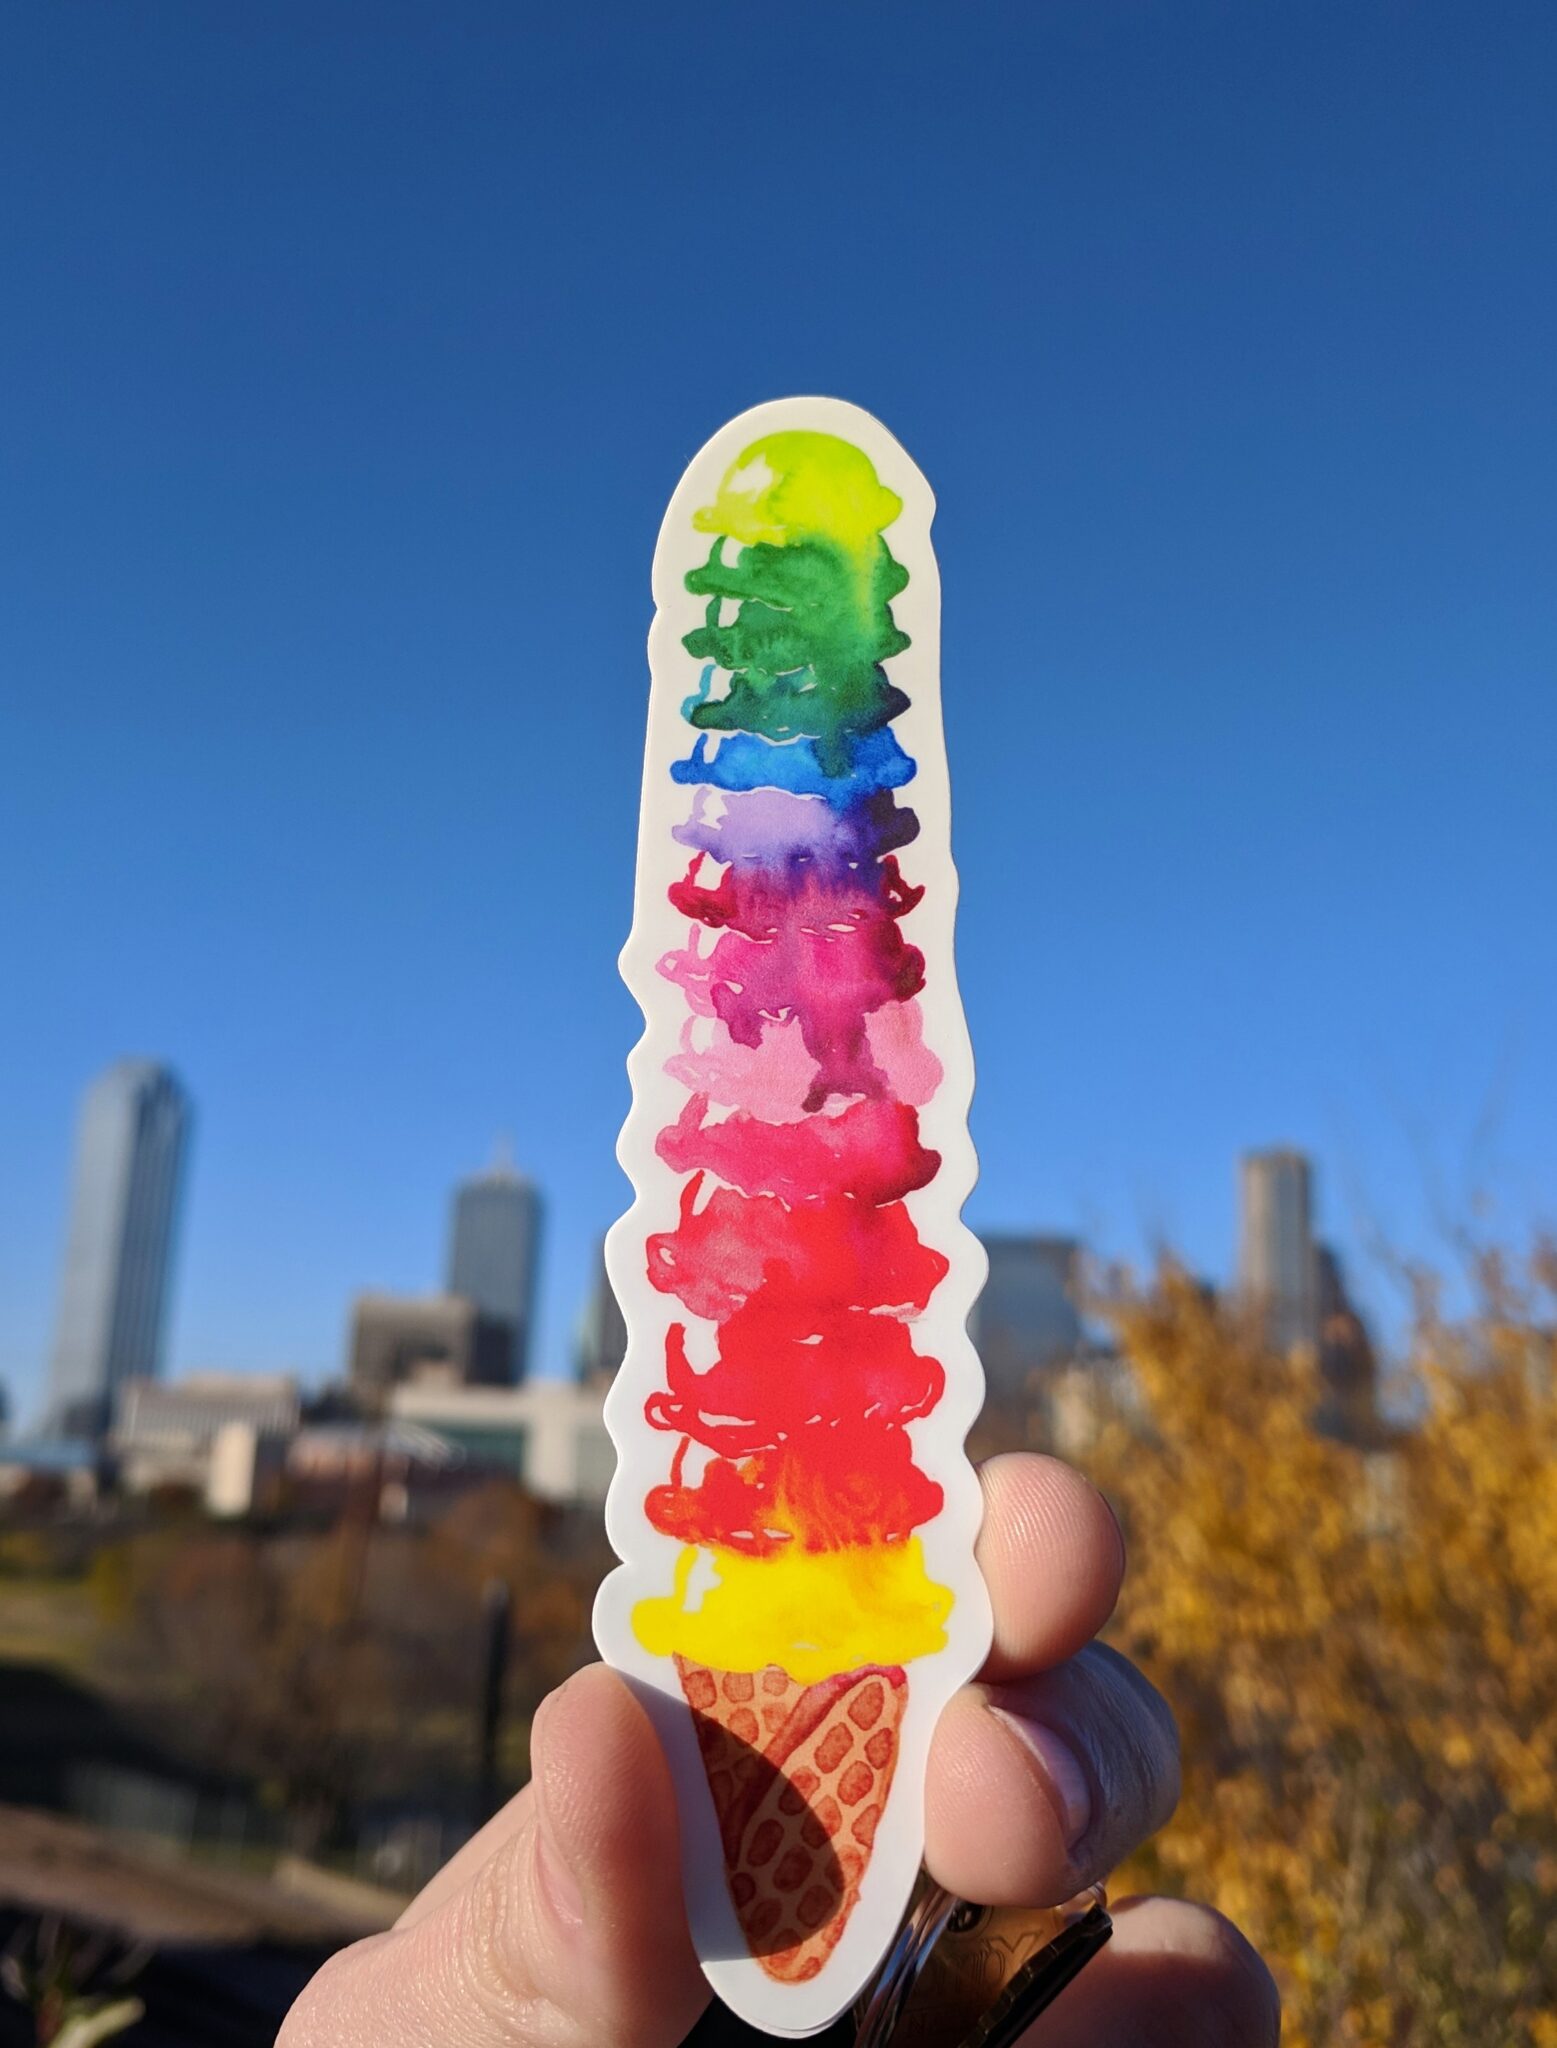
I encourage you to try out different colors (or do several scoops like below) for your ice cream cones and simply have fun!
Step 1. Sketching the shape of the ice cream cone.

To sketch the ice cream start with a circular shape for the scoop at the top. Then draw a flat line connecting the curve and a wavy line right below it. The cone will resemble a triangle shape with a rounded corner and a series of intersecting lines to show the cone texture.
You can also grab a PDF of all the line drawings from my book, here.
Step 2. Painting the Ice Cream Scoop.

We’ll start with the wet-on-wet technique. Dilute Ultramarine Violet with a bit of water. Squeeze one drop of water from your brush pen and spread the water over area of the ice cream scoop.
Next, load your brush with Ultramarine Violet and start dropping it into the wet area. Our highlight will be on the left side, so as soon
as you paint over the area, lift off the highlight with a
clean wet brush (and continue to lift off until there is
a nice, smooth highlight).
While the paper is still wet, drop in a little more Ultramarine Violet on the right side to increase the contrast between the highlight
and the shaded side. Do the same on the area where
the scoop meets the skirt (the wavy lines at the bottom
of the scoop). Adding more pigment there will create a
nice shadow. Allow to dry completely.
Step 3. Painting the ice cream cone with Wet-On-Dry Watercolor Technique
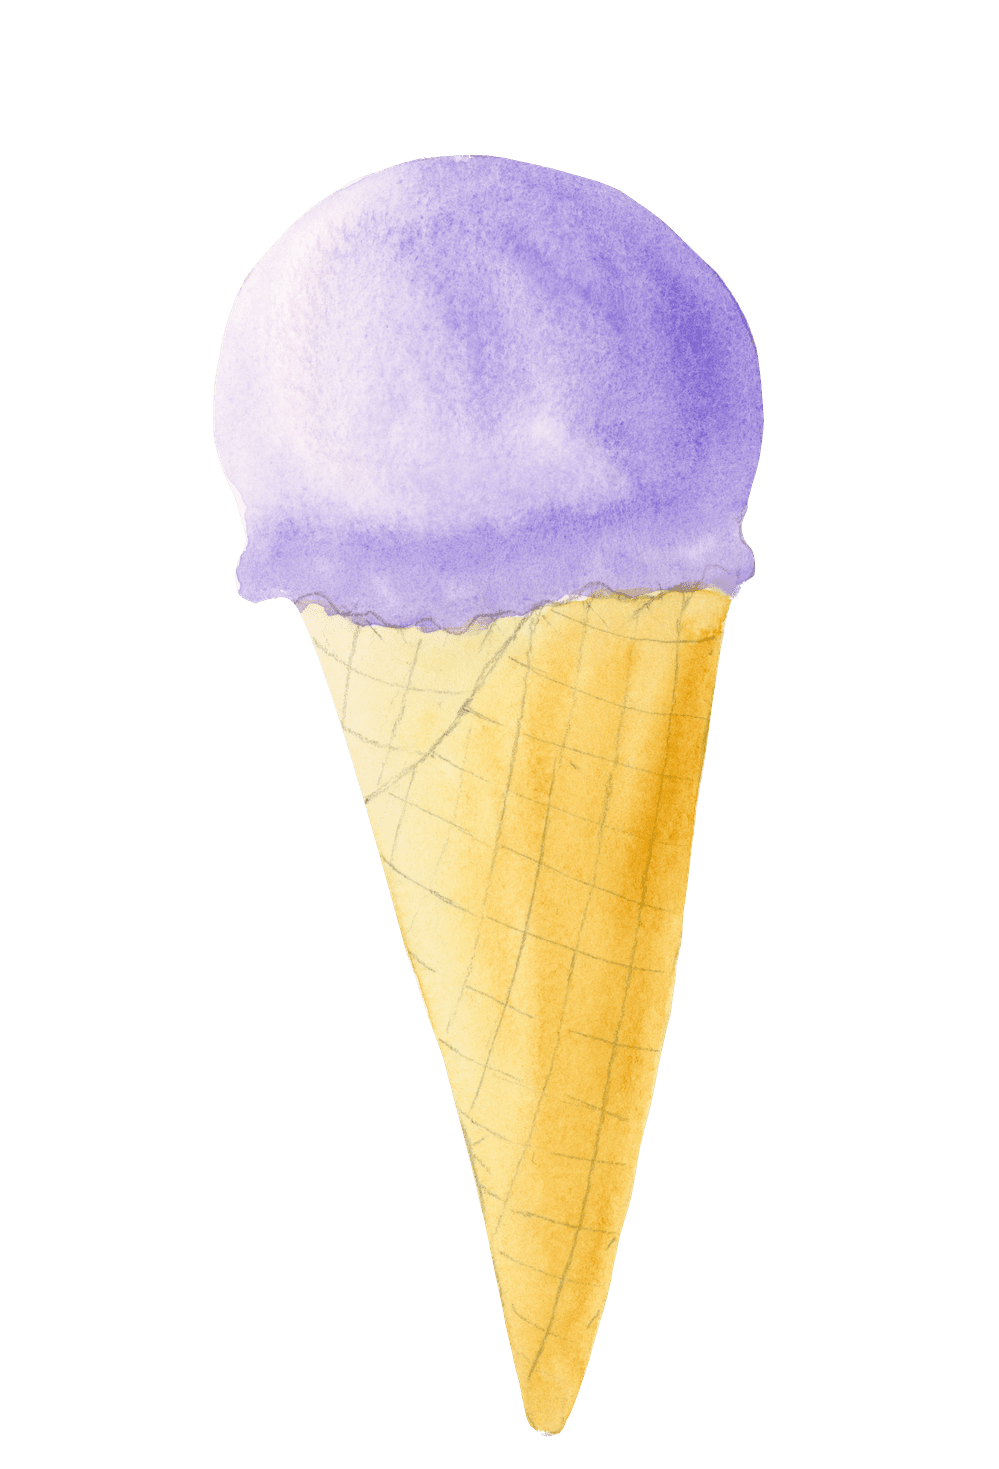
Use some Yellow Ochre and paint the cone with the
wet-on-dry technique. While the cone is still wet, drop
in a bit of Raw Sienna on the right side to create a
darker value for the shaded side, which will match the
ice cream scoop. Allow this area to dry completely.
Step 4. Painting the Watercolor Ice Cream Cone’s Texture

Next, dilute a bit of Raw Sienna with a few drops of wa-
ter to create a dark value. Painting wet-on-dry, use this
to paint the small irregular square-like shapes depict-
ing the cone’s texture. Paint these carefully inside the grid of pencil lines.
Finally, use more Ultramarine Violet on your brush pen
and add narrow, squiggly lines along the skirt of the
ice cream scoop. This second layer will create some
areas of a darker value against the lighter background,
thus adding more interest to the ice cream scoop.
Also add a second layer of Ultramarine Violet to slight-
ly darken the right side of the scoop, and then pull that paint into the rest of the shape, maintaining the
highlight.
Recommended Supplies to Paint Watercolor Tulips
Final Thoughts on Painting Watercolor Ice Cream Cones
Remember, to have fun and release all judgements.
But I also can tell you that once you paint a few ice cream cones with watercolors, you will probably end up manifesting a real ice cream cone in your life. Hey, I didn’t write the rules!
If you want to keep learning watercolor basics, as well as try out other tasty tutorials, grab a copy of my book, Watercolor Snacks.