Happy Color Snack Sunday, friends!
 I hope September has been treating you well and you all are ready for some fall weather (or spring if you’re in another hemisphere!).
I’m back and excited to share a new series of tutorials to get your creativity flowing and help you fill out that pesky-perfect sketchbook of yours.
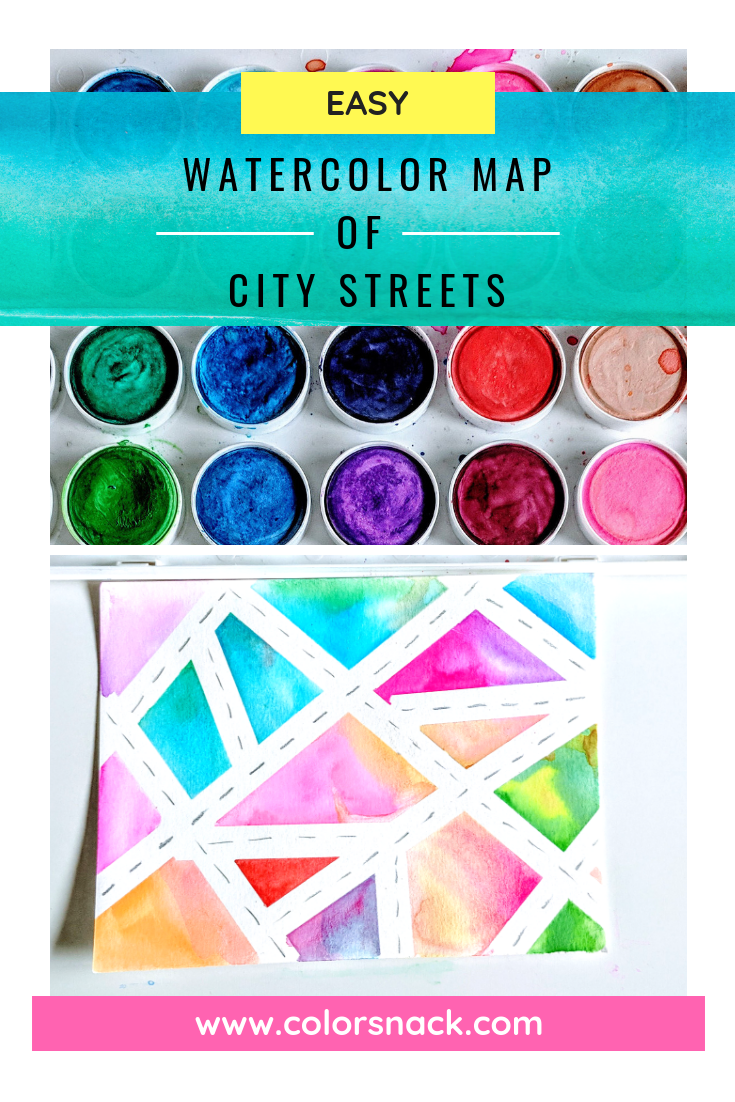
For this week’s tutorial, I had a blast creating this little watercolor map of city streets. It’s so easy and such a fun way to add a little colorful page to your sketchbook or maybe turn it into a postcard and mail it to your friend!
Best part about this watercolor map is that it’s totally imaginary and there’s no right or wrong way of doing it.
Check out the video below for the full tutorial and instructions!
(some of these posts may contain affiliate links, which are at no extra charge to you, but help me keep running this blog)
How to Sketch a Watercolor Map of City Streets
Supplies:
1. Block out the streets for your watercolor map.
Use washi tape to block out areas on your paper. Add as many tape lines as you want, leaving off the white of the paper to watercolor on.
2. Start adding in your first colors onto the white space on your watercolor map.
I am using this super cheap but fun set of watercolors from Michaels. I highly recommend it because for just $5 you can have endless amounts of fun without feeling like you’re wasting “precious” art supplies. Start out by adding in your first colors.
3. Add more colors to your polygon shapes.
Keep adding more fun colors to your shapes and blending those together. Note: If you happen to combine 2 colors that produce a muddy color, you can always wipe that off with a paper towel and layer in another color.
4. Peel off the washi tape.
Allow your sketch to fully dry. Start removing the washi tape carefully, as it can sometimes rip the paper if done too fast (like I did in the video :)).
5. Add lines to represent your streets.
Stay Creative,
xoxo
Volta


