Hello, my sweet friends!
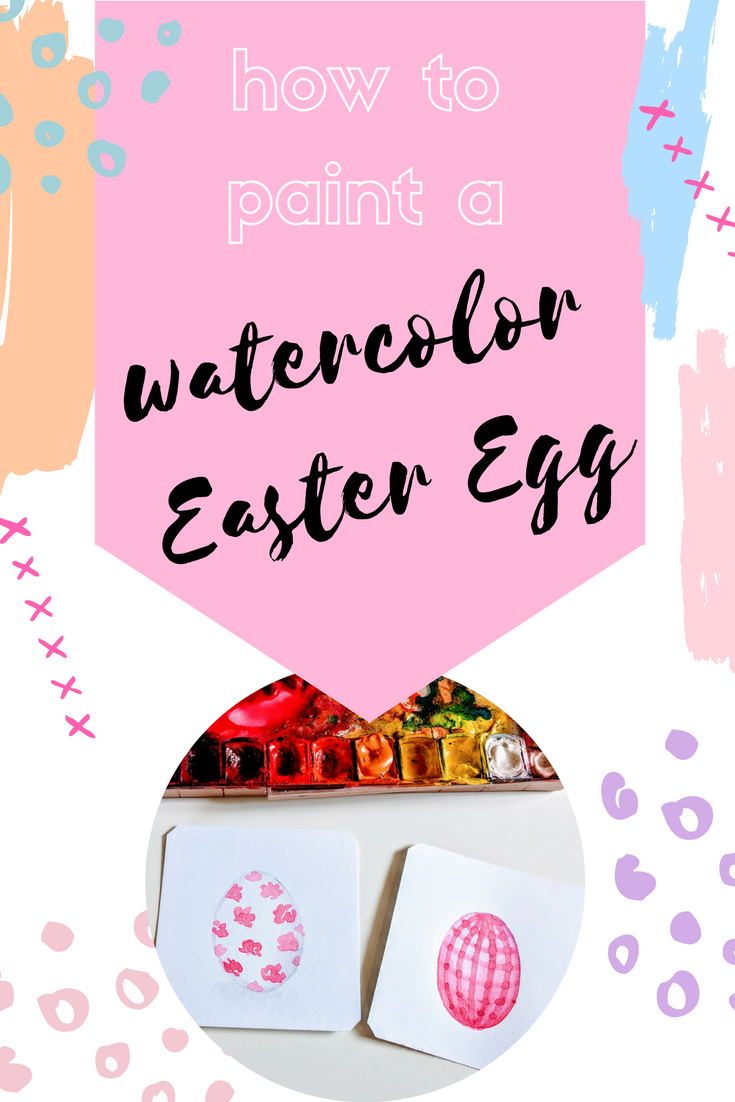
With Easter soon approaching, I wanted to share a quick tutorial on sketching watercolor Easter eggs. I just love the idea of painting eggs and combining the beautiful watercolors with this holiday seemed like a perfect excuse to dig out my paints and get to sketching!
Below you will find 3 different ways of sketching your watercolor Easter eggs (as well as a video at the end that explains the tutorial). The colors I use are merely suggestions and you can experiment with different colors to get different looks. These sketches are easy and approachable that you can even try them out with your kiddos or nieces and nephews!
the following post may contain some affiliate links, which don’t impact you but may help in supporting me running this blog. Thank you so much!
Recommended Watercolor Supplies:
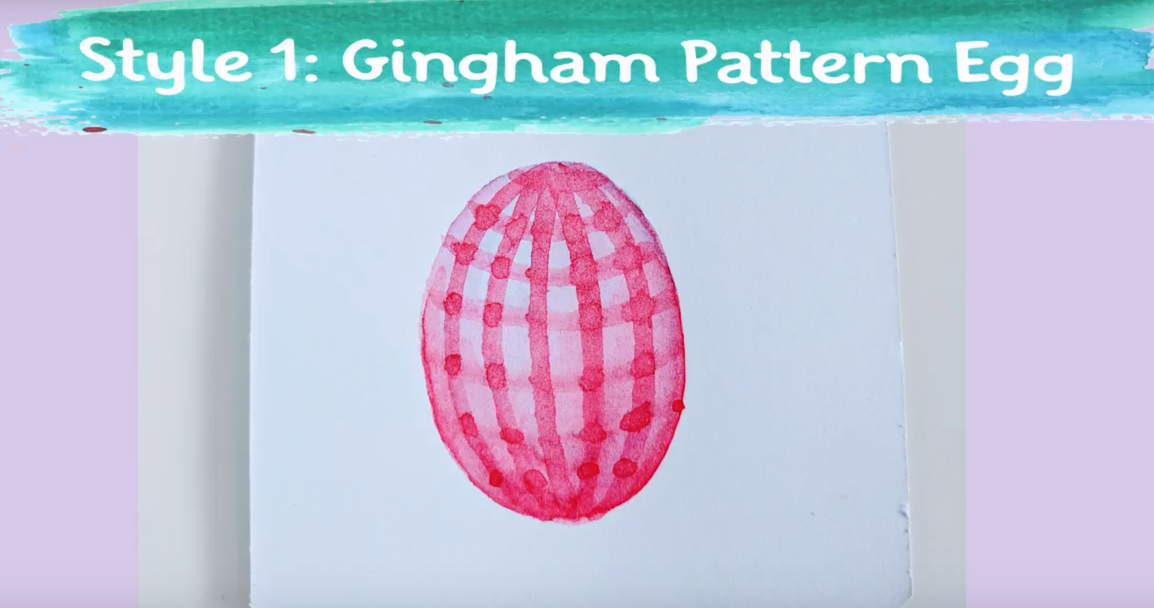
Style 1: Gingham Pattern Watercolor Easter Egg
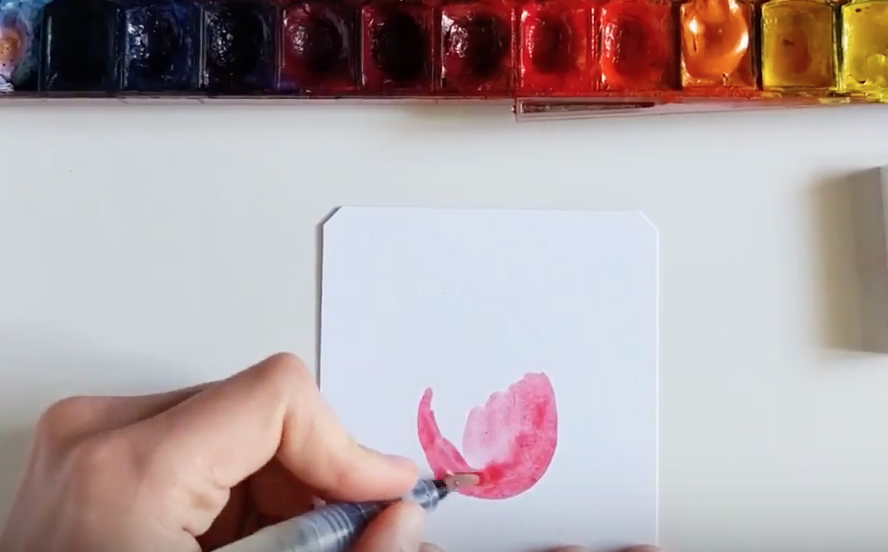
Step 1: Start with the bottom part of the egg shape; picture a semi-circle. Then fill in that shape with your color. In my sketch, I am using Quinacridone Coral from Daniel Smith.
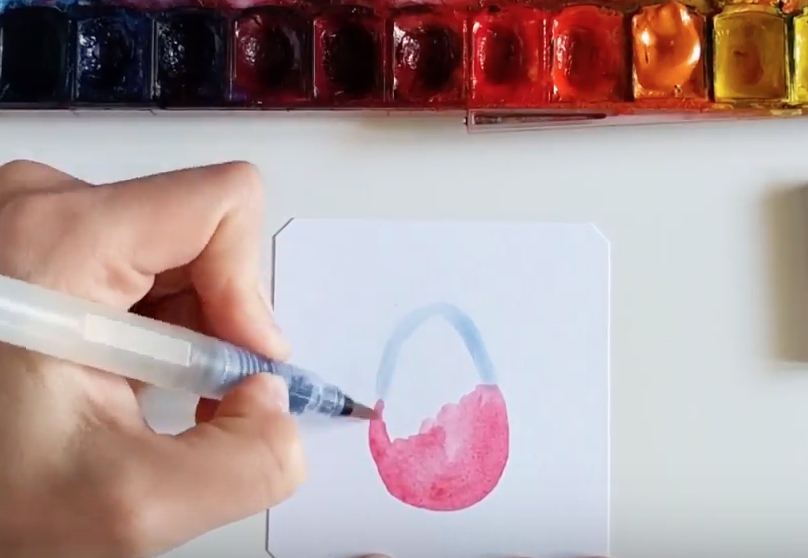
Step 2: Then, sketch the top part of the egg with your second color. I chose Cerulean Blue from Daniel Smith. I love this blue and coral color combination and when they blend together, they look beautiful.
Step 3: With a wet and clean brush, start blending the colors together. Pull one color into the other. You can also leave a tiny sliver of white for your highlight so that the egg looks more realistic.
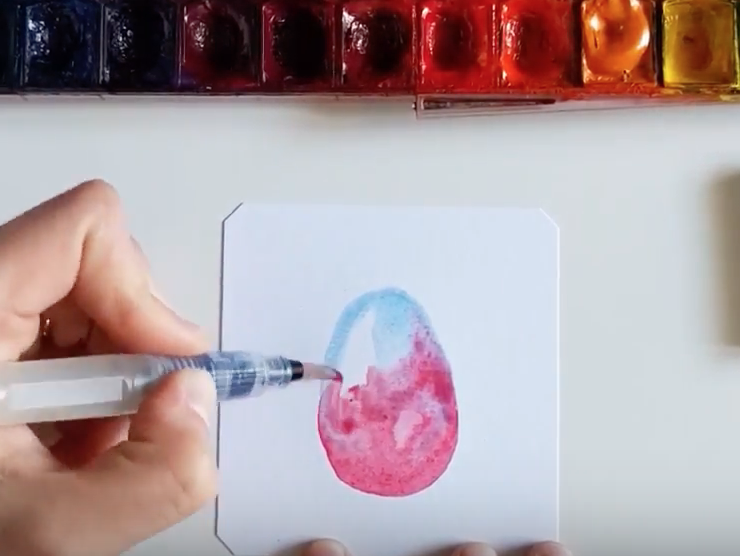
Step 4. Similarly to leaving a highlight area, you can add in another layer of watercolor to the right hand side to create a shadow on your watercolor Easter egg.
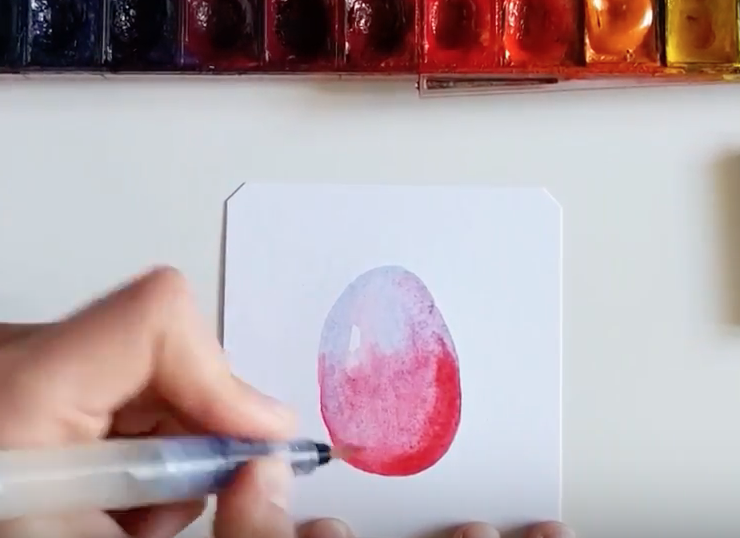
Step 5: Allow your sketch to completely dry before proceeding to this step. (If you are impatient, like me, you can use a hair dryer to dry your sketch even faster!).
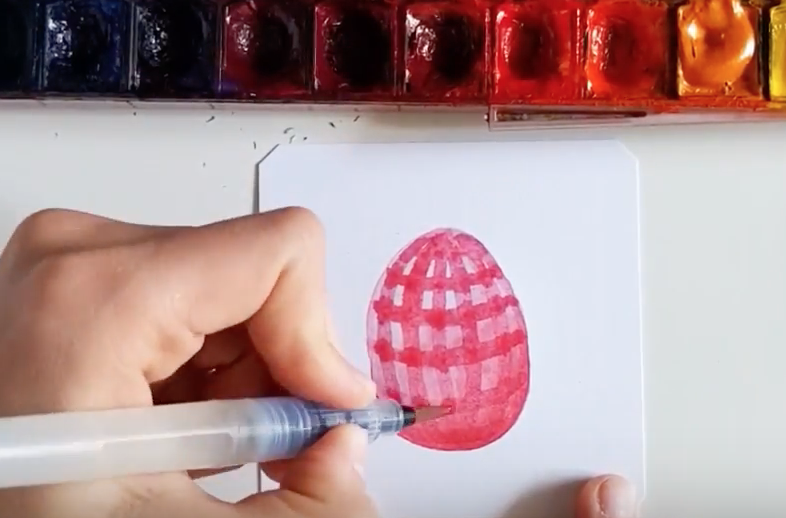
Start sketching the Gingham pattern lines. These lines will follow the general sphere shape of the egg.
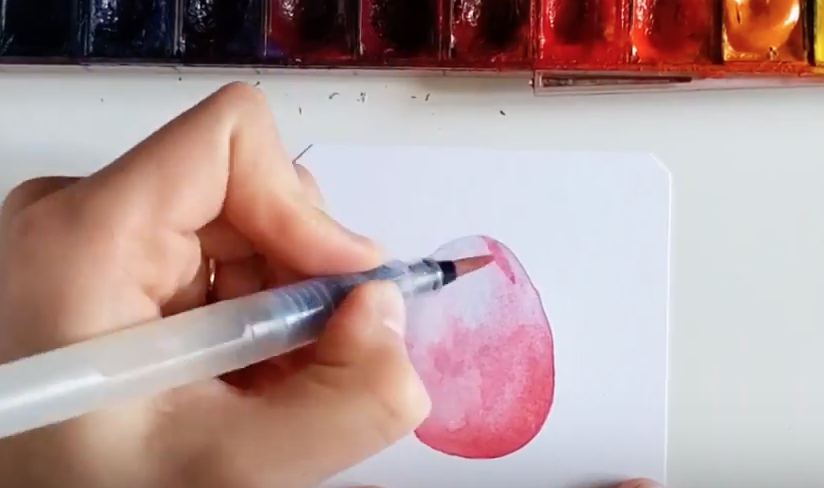
Step 6. To make your Gingham pattern pop a bit, go over and do another layer of color at the points where you lines intersect.
 Style 2: Stippled Heart Pattern
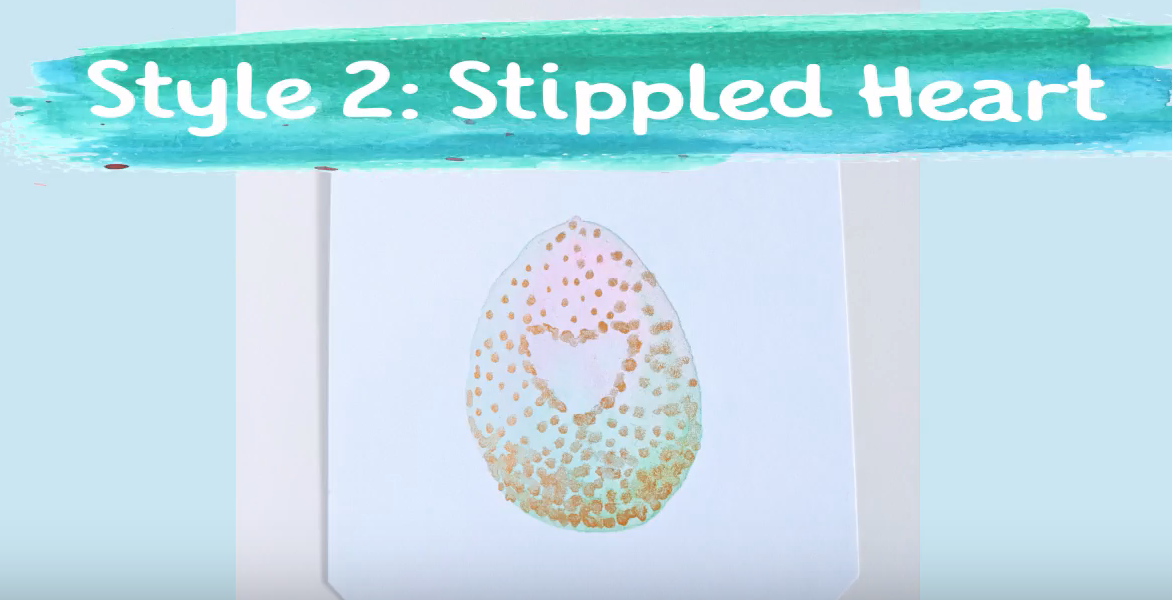
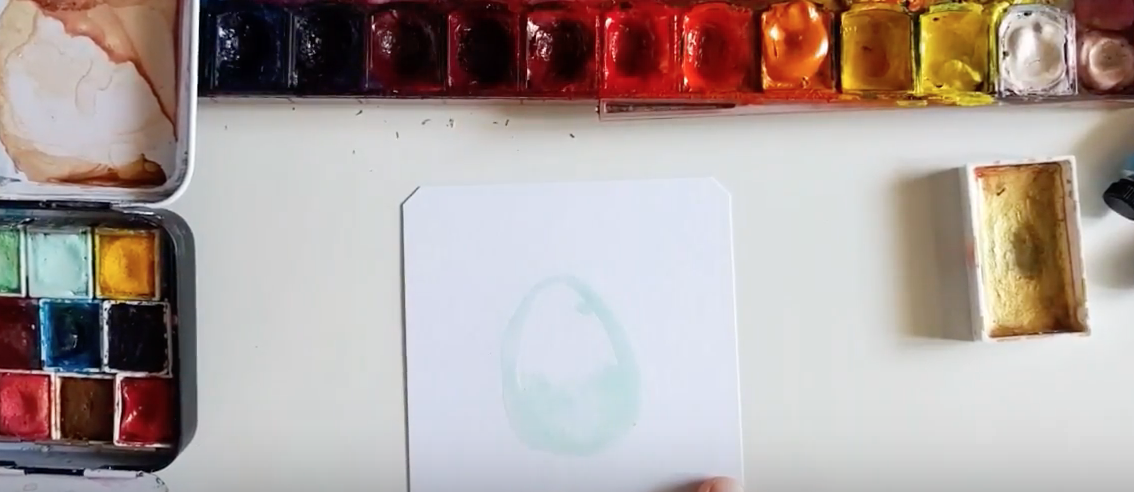
Step 1: For this sketch, I used the Prima Watercolors Pastel Dreams, because I wanted to go for a softer, Easter/pastel look. You can achieve these colors by mixing white watercolor paint and the color of your choice. Start with the oval shape of the egg in your lighter color (in this case, it’s mint green).
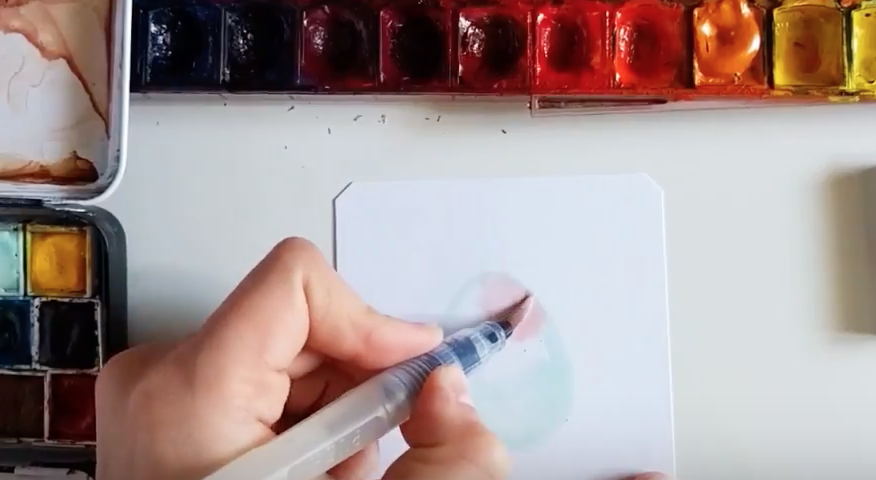
Step 2: With your second color (pink) fill in the rest of the shape and start blending the colors together.
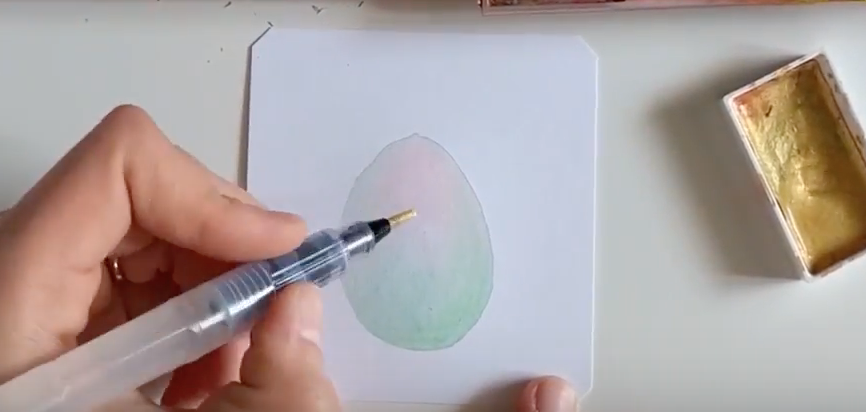
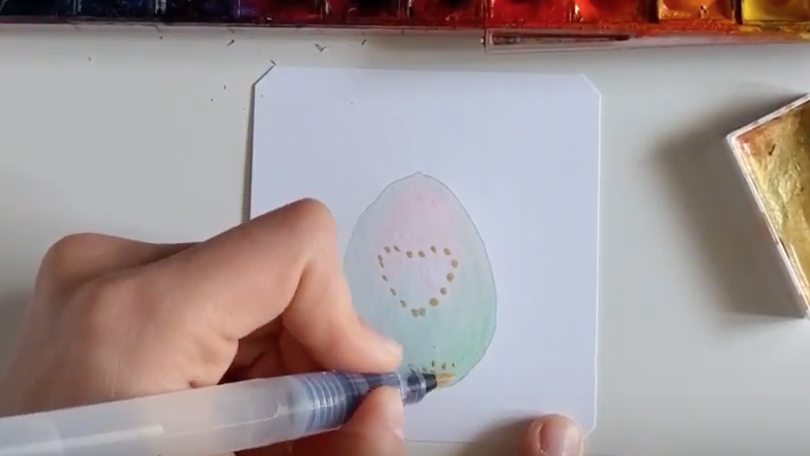
Step 3: Allow your sketch to dry completely before adding in the stippling. You can use a golden marker, or the Gansai Tambi gold watercolors (which I love and highly recommend getting).
Step 4: Start by creating a heart shape with dots. This area will remain blank. Then start adding in the dots on your watercolor egg sketch.
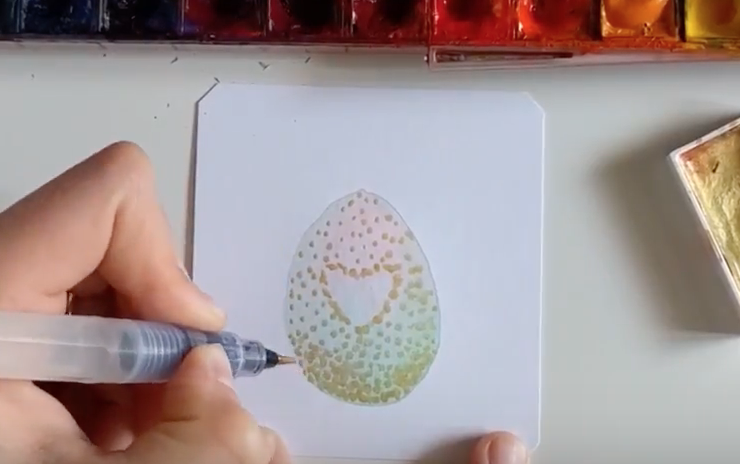
Step 5: Finish off the stippling on the entire sketch. Keep your dots closer to each other at the bottom of the egg and more spread out at the top.
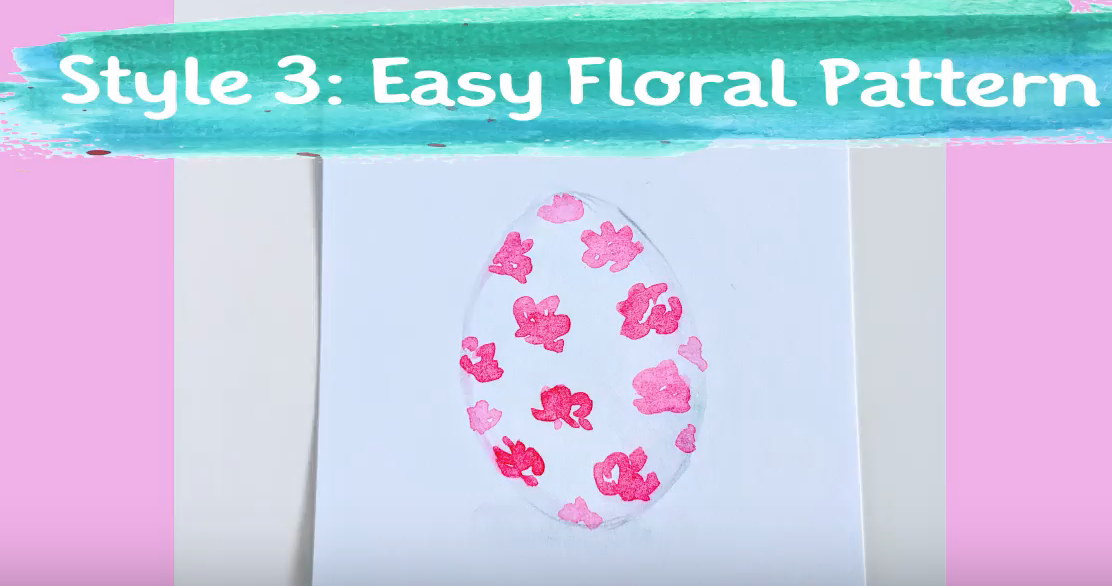
Style 3: Easy Watercolor Floral Pattern
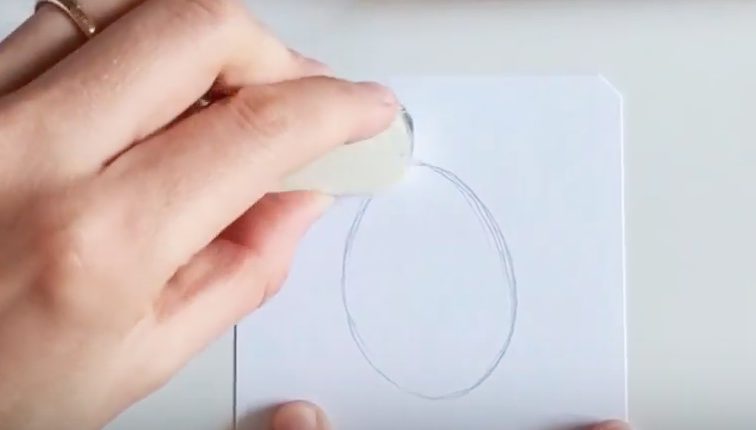
 Step 1: Sketch out the shape of an egg in pencil. Then lightly erase the pencil marks, just so that you have a very light outline of the egg.
Step 2: Start sketching your florals. Sketch small tiny flowers. These will be made out of small brush stroke lines, almost like a star bursting (with a hand motion that goes up and down).
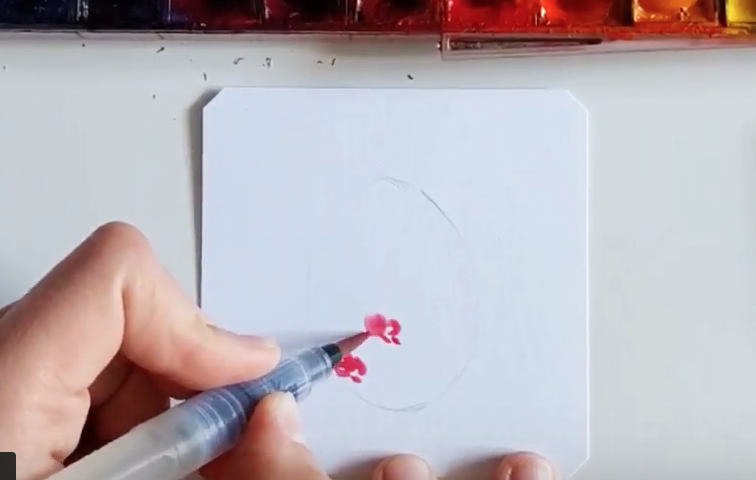
Step 3: Fill up the rest of your shape. Feel free to watch the video below to understand better how I sketched these super loose flowers.
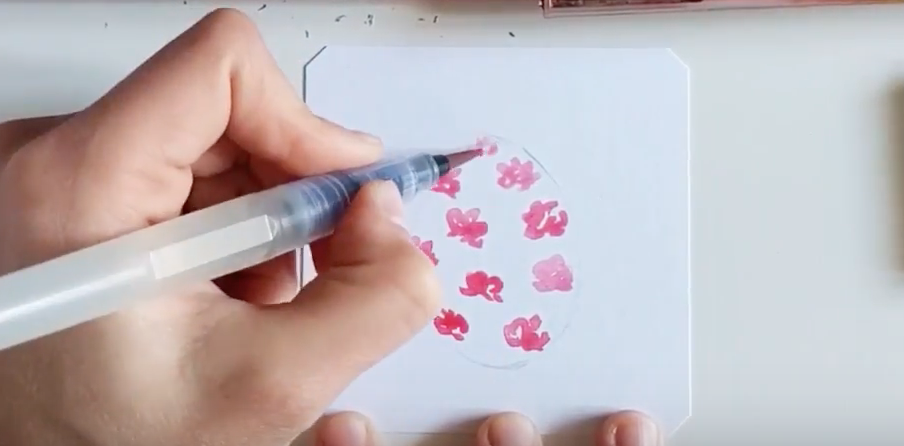
And there you have it!
Three watercolor Easter egg sketches!
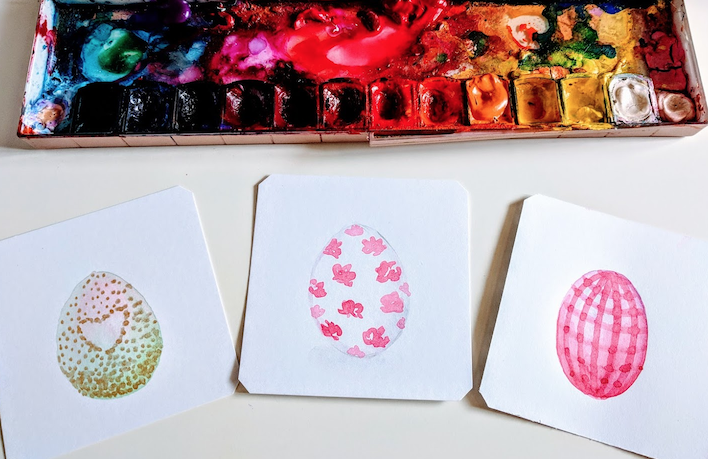
You can also watch this tutorial in the video below!
I can’t wait to see what you create!!!
Be sure to tag me @colorsnack on Instagram if you try this out!
