Hello my fellow sketchbook-lovers!

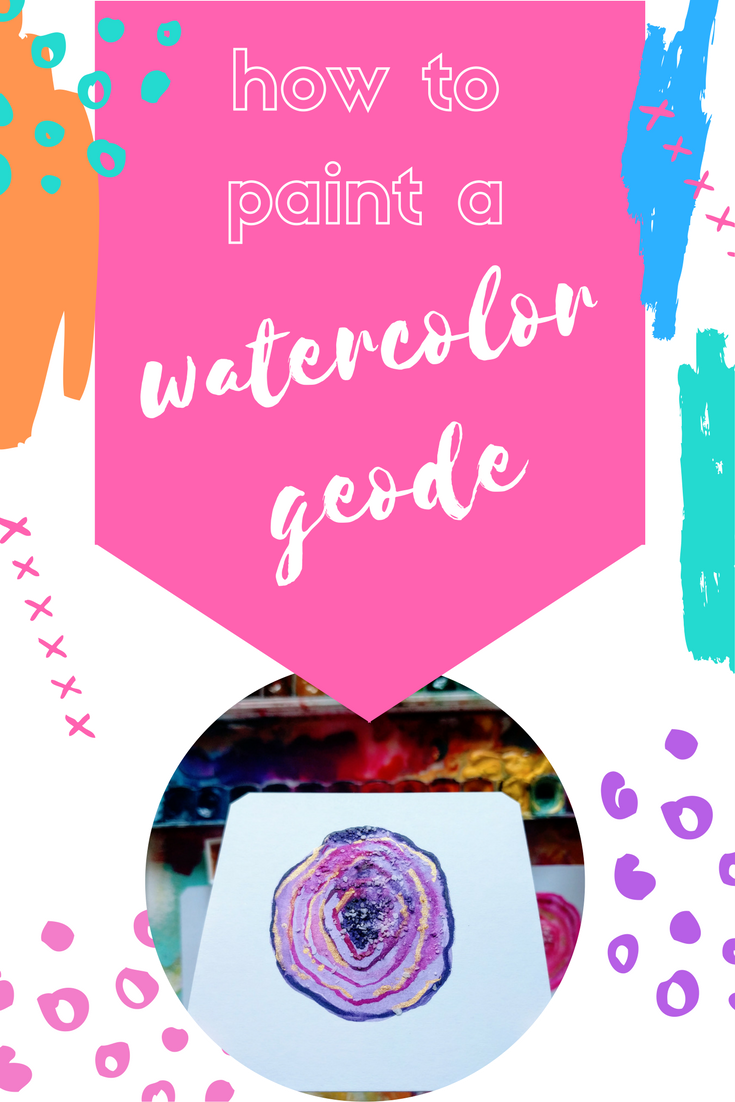
Today I wanted to share my process of painting a watercolor geode or agate slice.
This is a super easy technique and you could be on your way to filling up your sketchbooks (or that pesky first white page) with lots of these little fun-colored gems!
Here are the ingredients to get you started:
- Watercolors! Pictured above is my set of Mijello Mission Gold watercolors – one of my favorites!
- Paper towel! This is your bff in case you add too much water or if you just need to wipe down the water brush.
- Pentel Aqua Brush, but any thin paint brush will work
- Salt
- Optional: Kuretake Gansai Tambi gold watercolor.
- Your creative spirit.
Hold on to your brushes, things are about to get *rocky* 😀
1. Watercolor Geode Outline
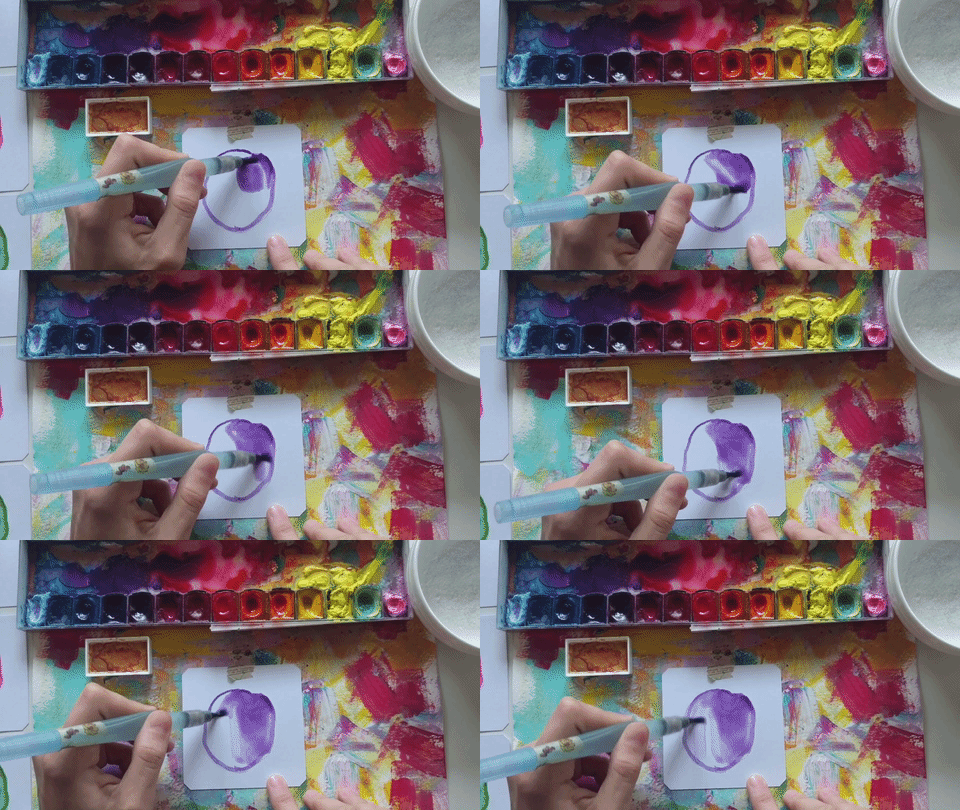
Start by drawing a wobbly outline of your geode. The more wonky the lines – the better, because it will look more like a geode shape.
2. Filling In The Shape With Watercolor Paint + Water
Next, color in your geode shape with watercolor paint of choice. Be sure to use enough water on the surface of your shape as it will help with your next step. Tip: if you find yourself with *too* much water, always use a paper towel to absorb the excess.
3. Add In The Inner Geode Circles
Start adding your inner circles to your shape by loading up your wet brush with lots of paint. You can use a darker shade of the color you already are using. The lines will bleed, but do not worry! This is normal and in fact it’s part of the process of making your geode sketch more realistic looking. Again, the wonkier the lines, the better!
4. Fill In The Center Of Your Watercolor Geode
Load up your brush with a lot of paint and fill in the center. You’ll want a super deep and dark center as that is how geodes often appear.
5. Add Salt To Your Geode Slice
Sprinkle salt (any salt will do) right in the center of your geode. You can also add some salt in between the lines you painted. The salt will act as a resistant to watercolor and will push out the color in a cool and geode-y type of way.
6. Going Over The Lines
Since we are working with the wet-on-wet watercolor technique, you can go over the initial lines you painted with more paint. This will help define the lines a bit more and add interesting contrasts to your geode sketch. It’s ok to go over your lines even on top of the salt that you already sprinkled.
7. Go Big & Gold
If you’re feeling golden, you can add in some gold or shimmer highlights. I am using the Gansai Tambi gold watercolor paint which is awesome for adding little details and highlights to your pieces.
8. Remove The Salt
Wait for your geode sketch and salt to completely dry before removing it. You can use your finger to remove it, or an eraser to scratch the salt crystals from the geode. Another option is to actually leave some of the salt crystals in the middle of your geode, as it will resemble the natural look of the rock itself.
Et Voila! You have your beautiful watercolor geode!
A few ideas of how to use your watercolor geodes:
- As the opening page to your sketchbook
- In an illustration with lettering “You’re a A Gem” for your bestie!
- Decorate your wall or desk area with a garland made of several of these geodes
- Make a birthday card with a geode pattern
- Sketch a bigger geode and frame it to give as a gift (much better than buying random shit nobody needs, amirite? :))
Watch the video below and see how I paint several geodes in different colors!
Thanks for watching & now it’s your turn! I can’t wait to see what you create! 🙂
Happy Watercoloring!
xoxo
-Volta


