Step by Step Instructions
Supplies:
- Watercolor paints: Golden Deep, Magenta, Sap Green, Payne’s Gray
- Watercolor brush pen
- Watercolor paper
- Pencil to sketch

To sketch:
Start by sketching the shape of the glass as two lines that are slightly slanted towards each other (creating a wider opening at the top and more narrow at the bottom).
Connect the bottom points with a slightly curved line. Sketch a similarly curved line parallel and right above the first line. This will represent the glass part.
Sketch a narrow oval at the top of the glass, connecting the two lines. Then add a couple of random square-shapes to represent the ice cubes in the drink.
Finally, sketch a triangle shape with a curved line to represent the watermelon slice. Add a pointed oval shape for the basil leaf right next to it.
How to Paint a Watermelon Watercolor Cocktail
Step 1: Mixing Your Colors
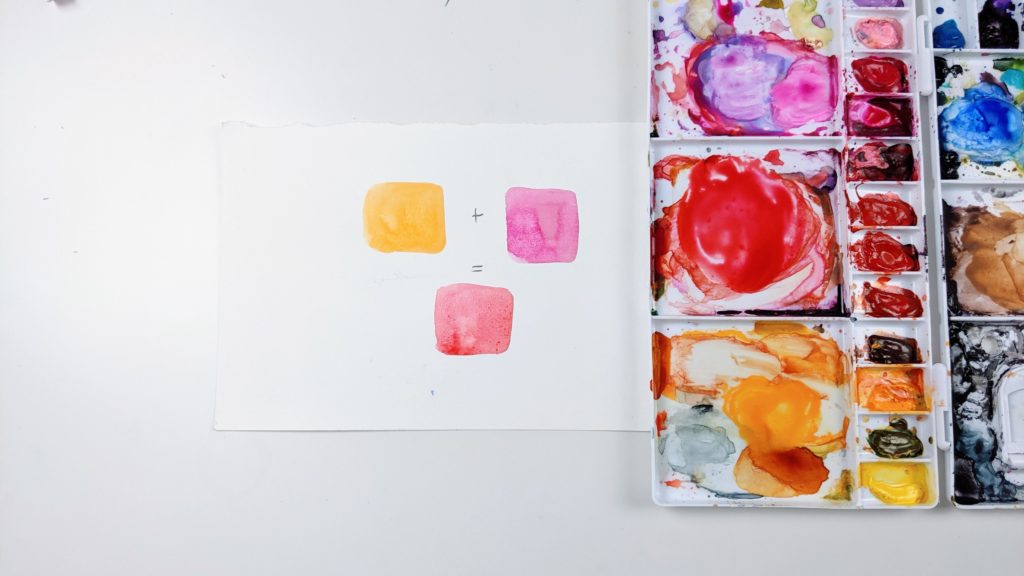
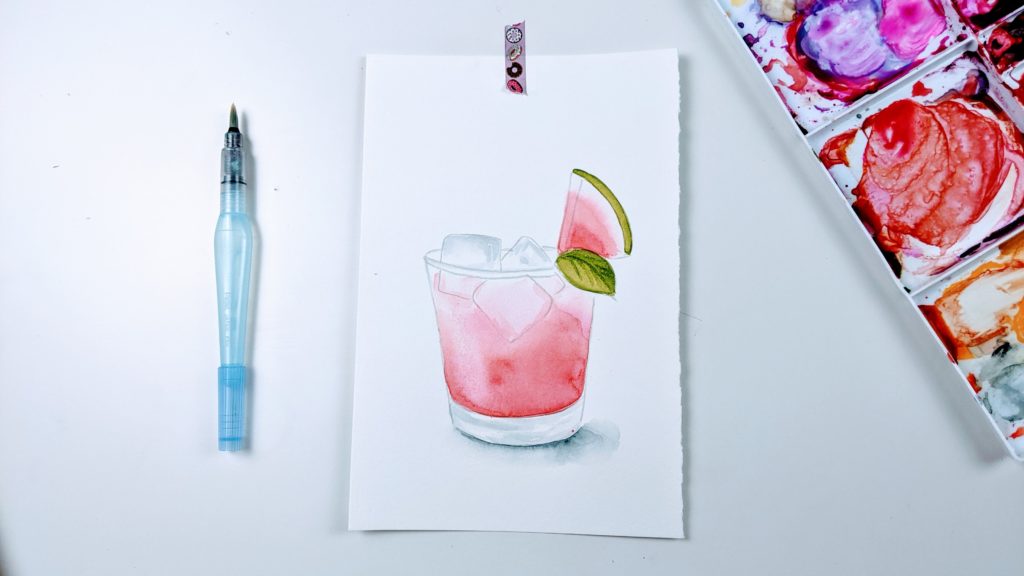
Mix in your colors: magenta + golden deep, to get a nice watermelon pink color.
Step 2: First Watercolor Layer
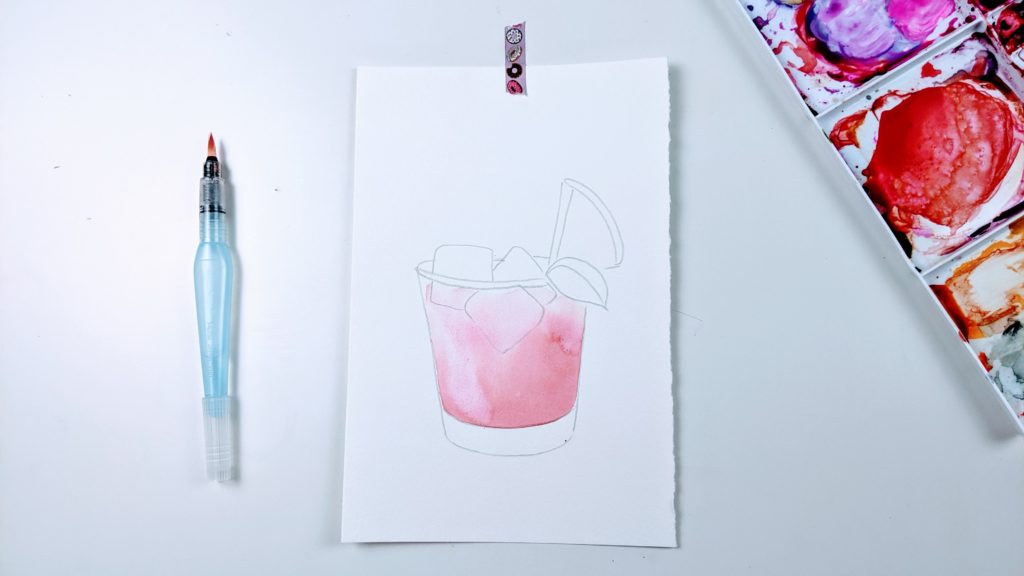
Add a thin layer of water inside the glass area, covering the ice cube as well.
Use that color mix to drop in the color into the area where you added the water, using wet on wet technique. Drop more of that watermelon pink into the bottom area of the glass so that the top of the shape has a lighter value of that same pink.
This will allow your watercolor mix to spread inside the shape, giving it a flowy look.
With a clean, damp brush, lift off the area inside the ice cube so that they appear slightly lighter in value than the rest of the glass.
Also lift off a highlight on the left side of the glass, that is where we have our light source and as a result that area of the glass will appear lighter.
Allow this layer to dry completely.
Step 3: Second Watercolor Layer
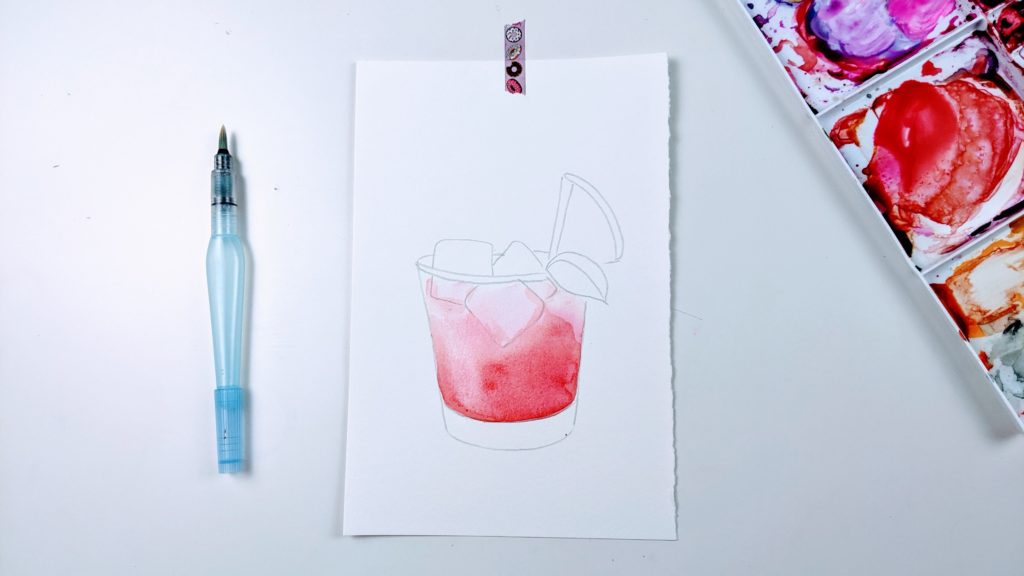
Using the same color mix, paint the bottom of the glass with a second layer. Wipe the brush pen on a towel and use it to soften the edges of the second layer. Keep reinforcing the highlight on the glass on the left side so that it doesn’t disappear. Outline the ice cubes with your brush pen using just a bit of the color mix so that it creates small shadows and texture on the ice cube shapes.
Step 4: Adding Watercolor to the Watermelon Slice
Use the same watermelon color mix for the watermelon slice. Add a thin layer of water inside the shape (leaving the rind untouched) and then drop in the watermelon pink into the shape, closer to the cocktail contents. The color will naturally spread into the shape, but we want to make sure we leave a bit of a blank space between the rind and the flesh of the watermelon.
While that is drying, grab your Panye’s gray and dilute it with water so you have a very light value of the color. Use that to paint a few curved lines in the glass area at the bottom. Clean off the brush pen and soften those lines to blend them in a bit so they are not as pronounced.
Use the same technique on the ice cubes, adding a bit of shading with your light value of payne’s gray.
Allow to dry.
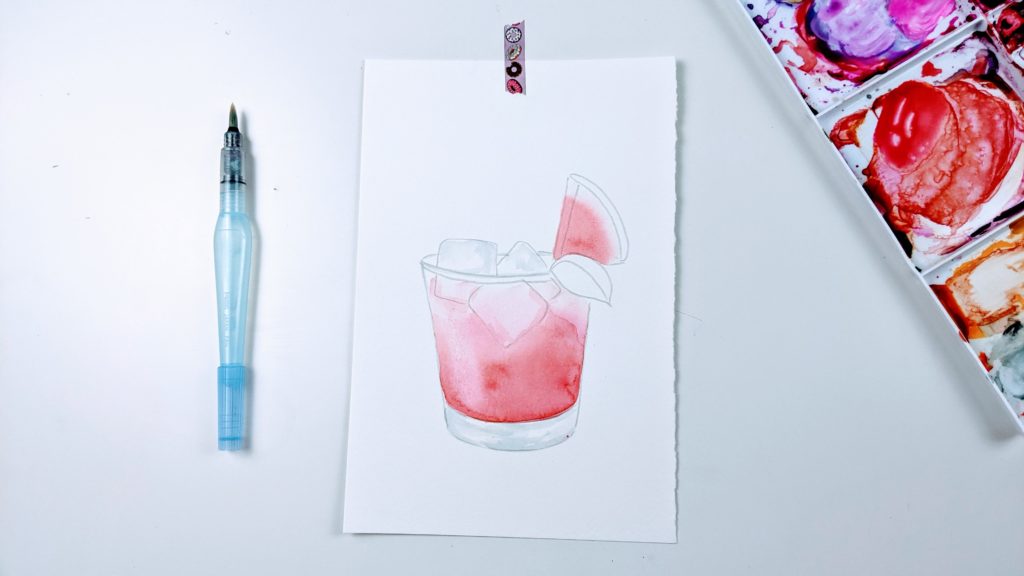
Step 5: Adding Green Watercolor Details
Using sap green, paint the watermelon rind with the wet on dry technique.
Then using the same color, paint the basil leaf. Cover the whole shape of the leaf and after that, with a clean damp brush pen, lift off a bit of a highlight on the left side of the leaf.
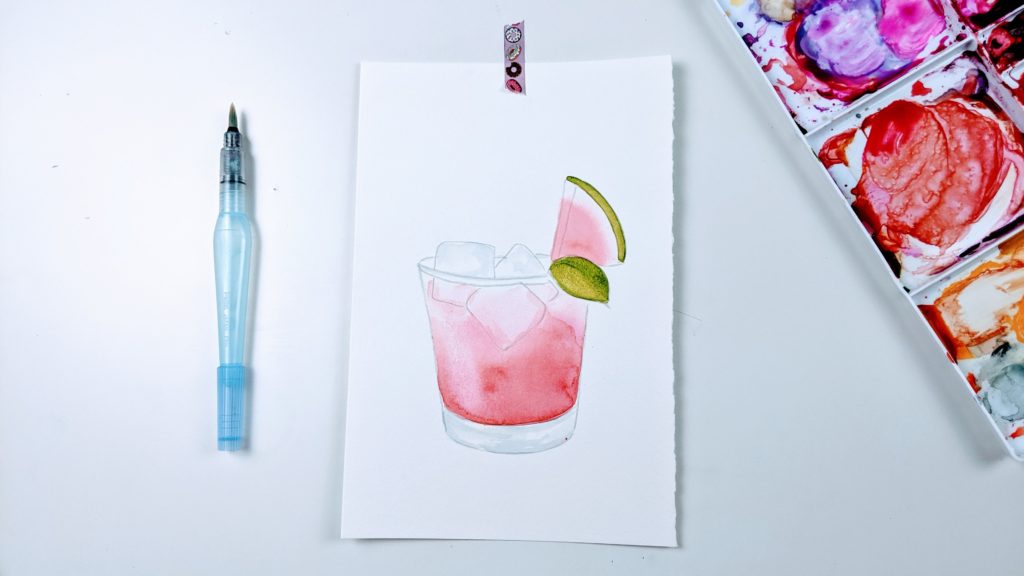
Step6 (a and b): Adding a Cast Shadow
Using payne’s gray, paint a very thin line right under the glass and off the right a bit. Clean off the brush pen and immediately soften that line to create a nice shadow underneath the glass.
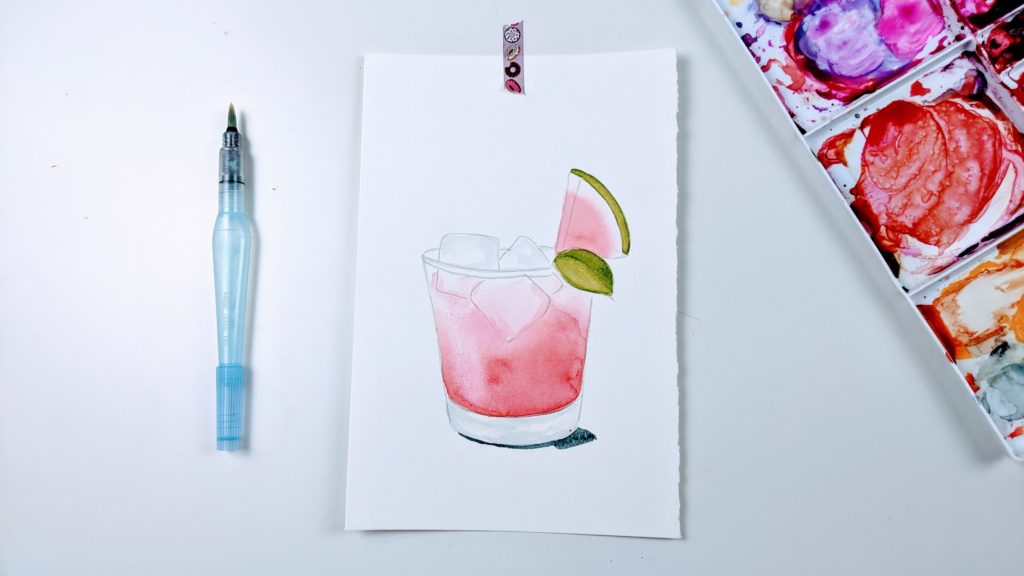
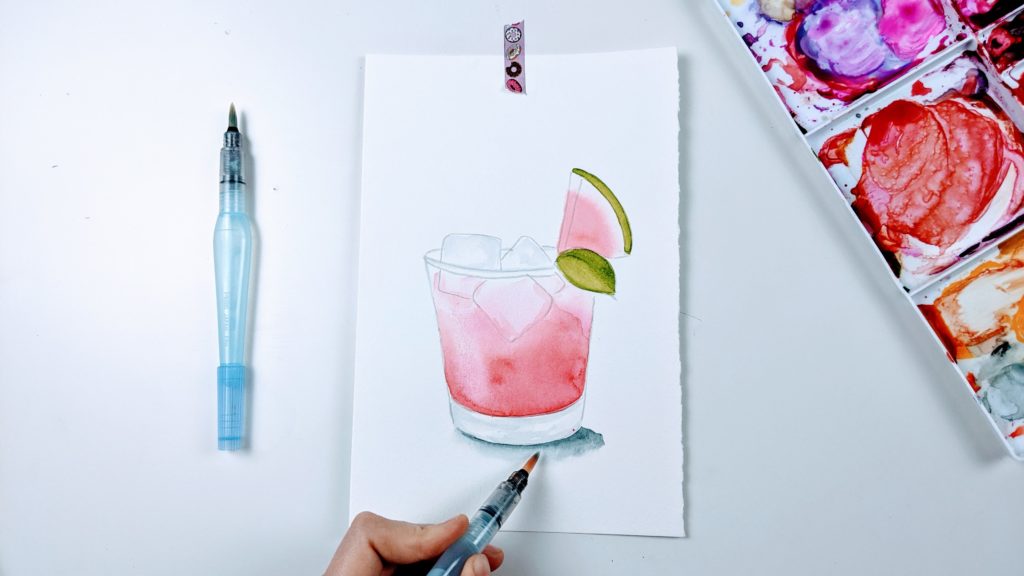
Step 7: Final Details
Add a few small details as your last step:
Add a bit more of the watermelon pink on the watermelon slice (the area closest to the basil leaf) and then soften that line to blend it into the shape.
Add a few more lines with a diluted payne’s gray to add more texture to the ice cubes.
Using sap green, outline a few leaf strands on the basil shape.
If you enjoyed this tutorial you might like my online course Watercolor Cocktails!
Details below!

